


Presets are not always a quick solution for editing photos. If we don’t know how to use them - buying presets could be money thrown down the drain. It’s very easy to be disappointed, when after buying your favourite photographer’s presets, it turns out that they don’t give desired results on our photos. That’s why it’s worth starting your adventure with them without spending money.
With all this in mind, we decided to give away a pack of our three original presets.

Let’s start again: what is a preset?
A preset is a set of settings that were used when editing a given photo to achieve a specific ‘look’. Saved settings are, for example, defined contrast, saturation or even hues and luminance of individual colours that were previously pre-set for us.


Careful selection of all values can give a photo a special effect and an unique style. We save the presets to be able to quickly and easily apply settings from one photo onto another, which helps to achieve a cohesive look of our photos. The presets are dedicated for use in photo editing software - Adobe Lightroom Classic CC and Adobe Lightroom mobile app.
Presets are for you if you:
Don’t edit your photos, you’d like to start but don’t know how
Want your photos to look more professional
Want to speed up the process of editing your photos
interested in how to achieve a specific look and want to take a look at the settings
Don’t want to edit photos but you’d like to have nice pictures from holidays
like our photos and you’d like to get a similar look on your photos
have no idea how to edit a given photo and you’re looking for inspiration

We’ve prepared for you a set of 3 presets (each in two variants) for desktop and mobile. These are exactly the same presets we use to edit our photos. We spent weeks testing them, making sure they work perfectly on various photographs. They’re very versatile and are a fantastic base for editing your photos. They work well on pictures taken with a camera and a mobile phone. Along with the presets you get an e-book in which we thoroughly described the process of installing, using and adjusting the presets and we also included some tips on taking photos.
And you can have it all
FOR FREE!
Just subscribe to our newsletter below. That’s it! That’s all you have to do!

***Please remember that we’ve worked hard to create these presets, and it is illegal to resell our presets or tweak them to sell them as your own.
Despite the fact that we’ve been professionally involved in film and photography for years, we’ve never paid too much attention to what our private photos from holidays look like. This changed when we began to travel together and realized that we may never come back to some places, but photos and our memories are something that will stay with us forever. We decided to make our photos more beautiful and we want the same for you! That’s why we’re so excited about the fact that we can share with you our presets that will make your memories take on colours!
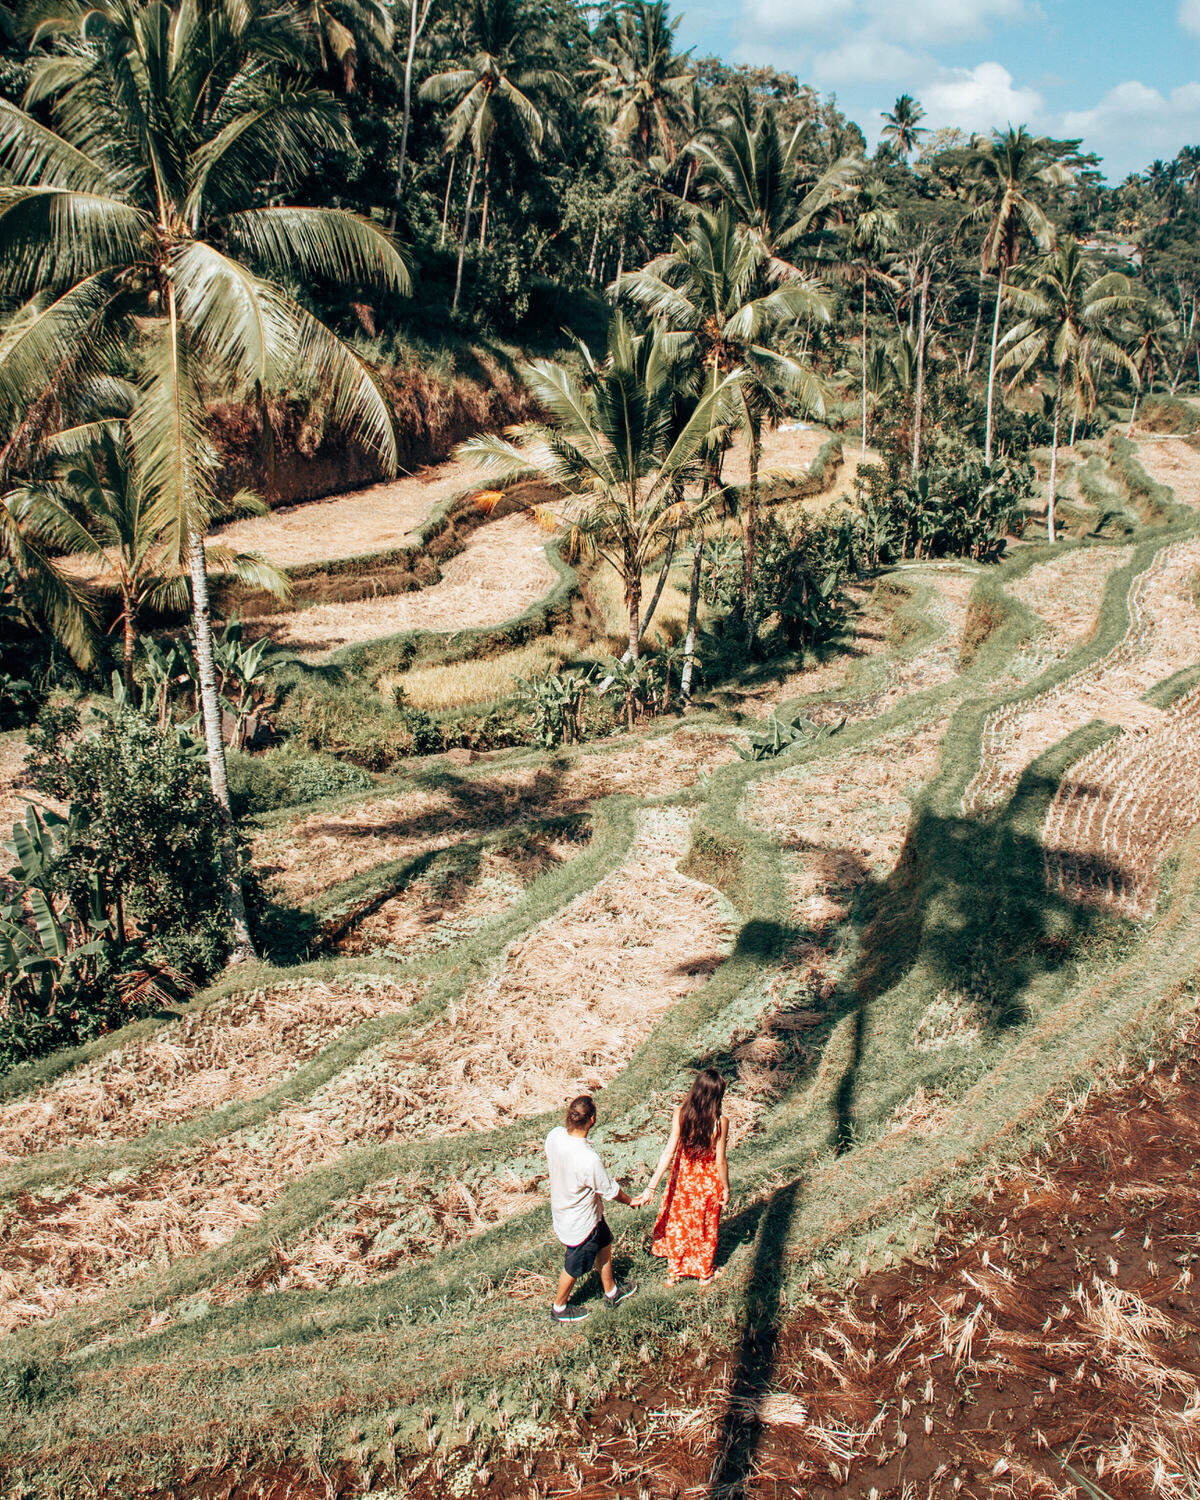
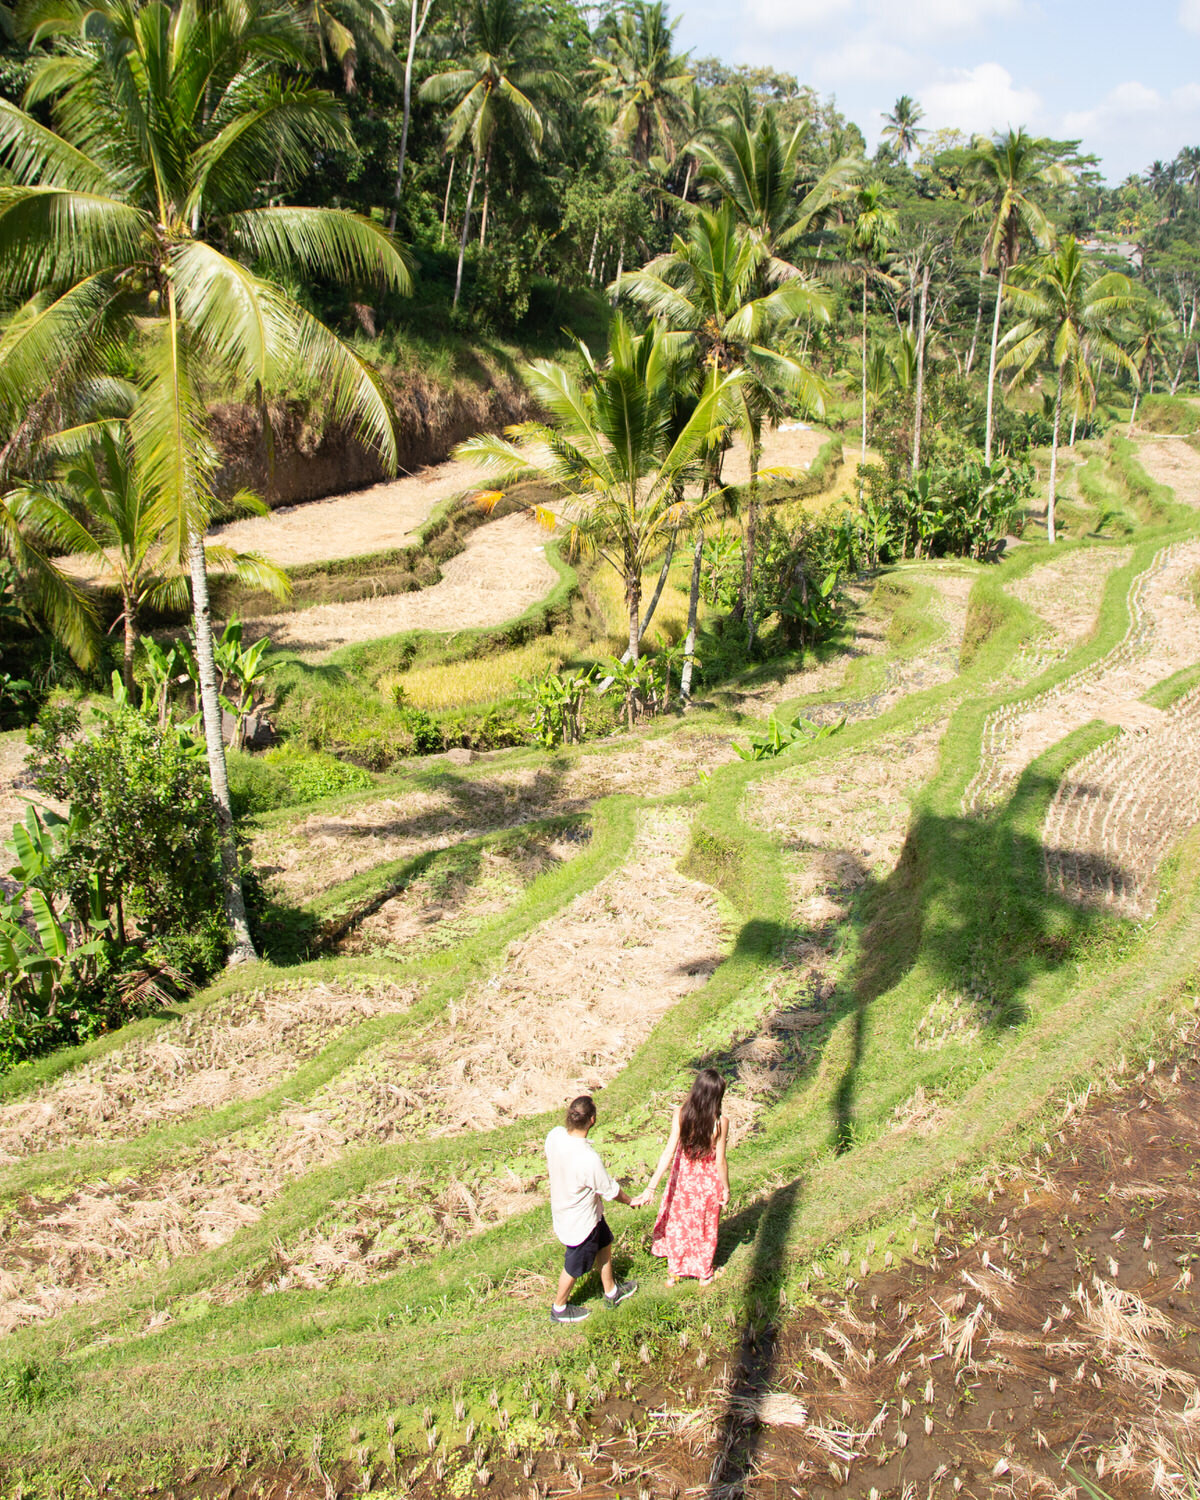

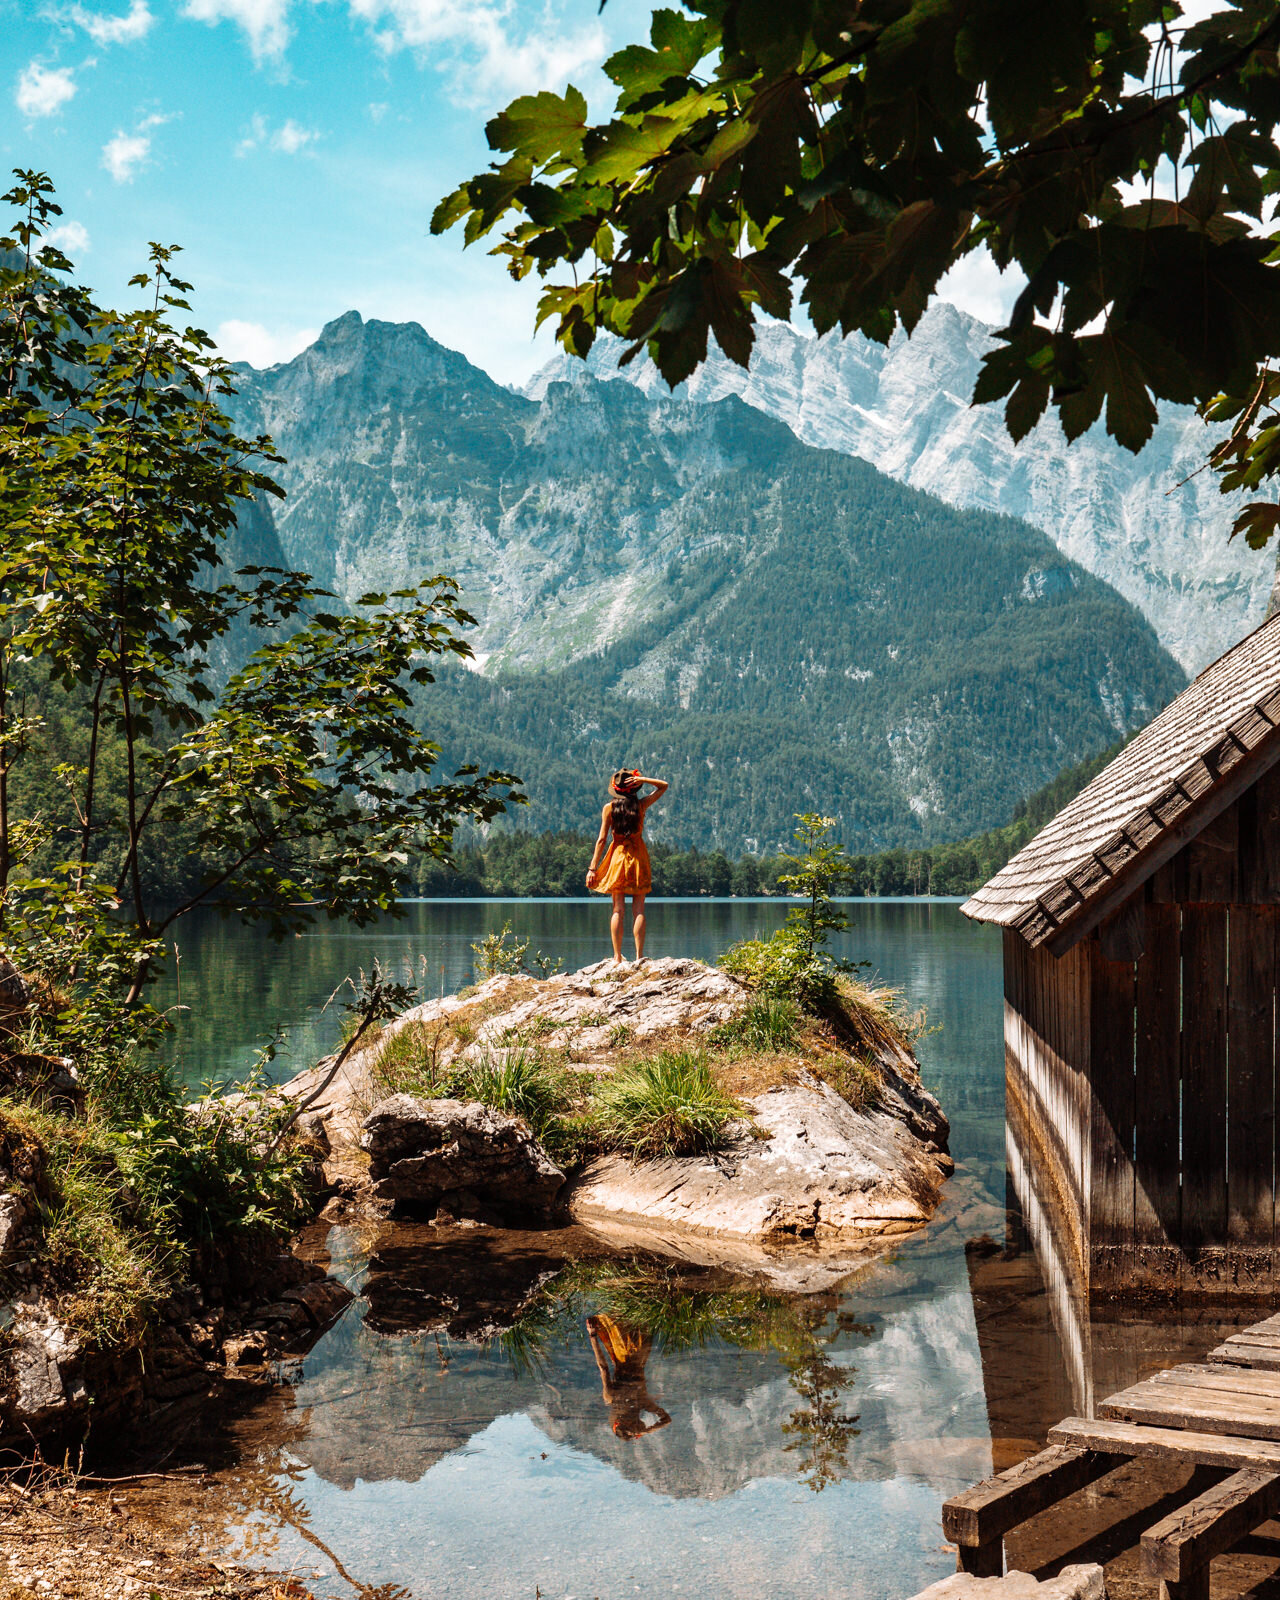
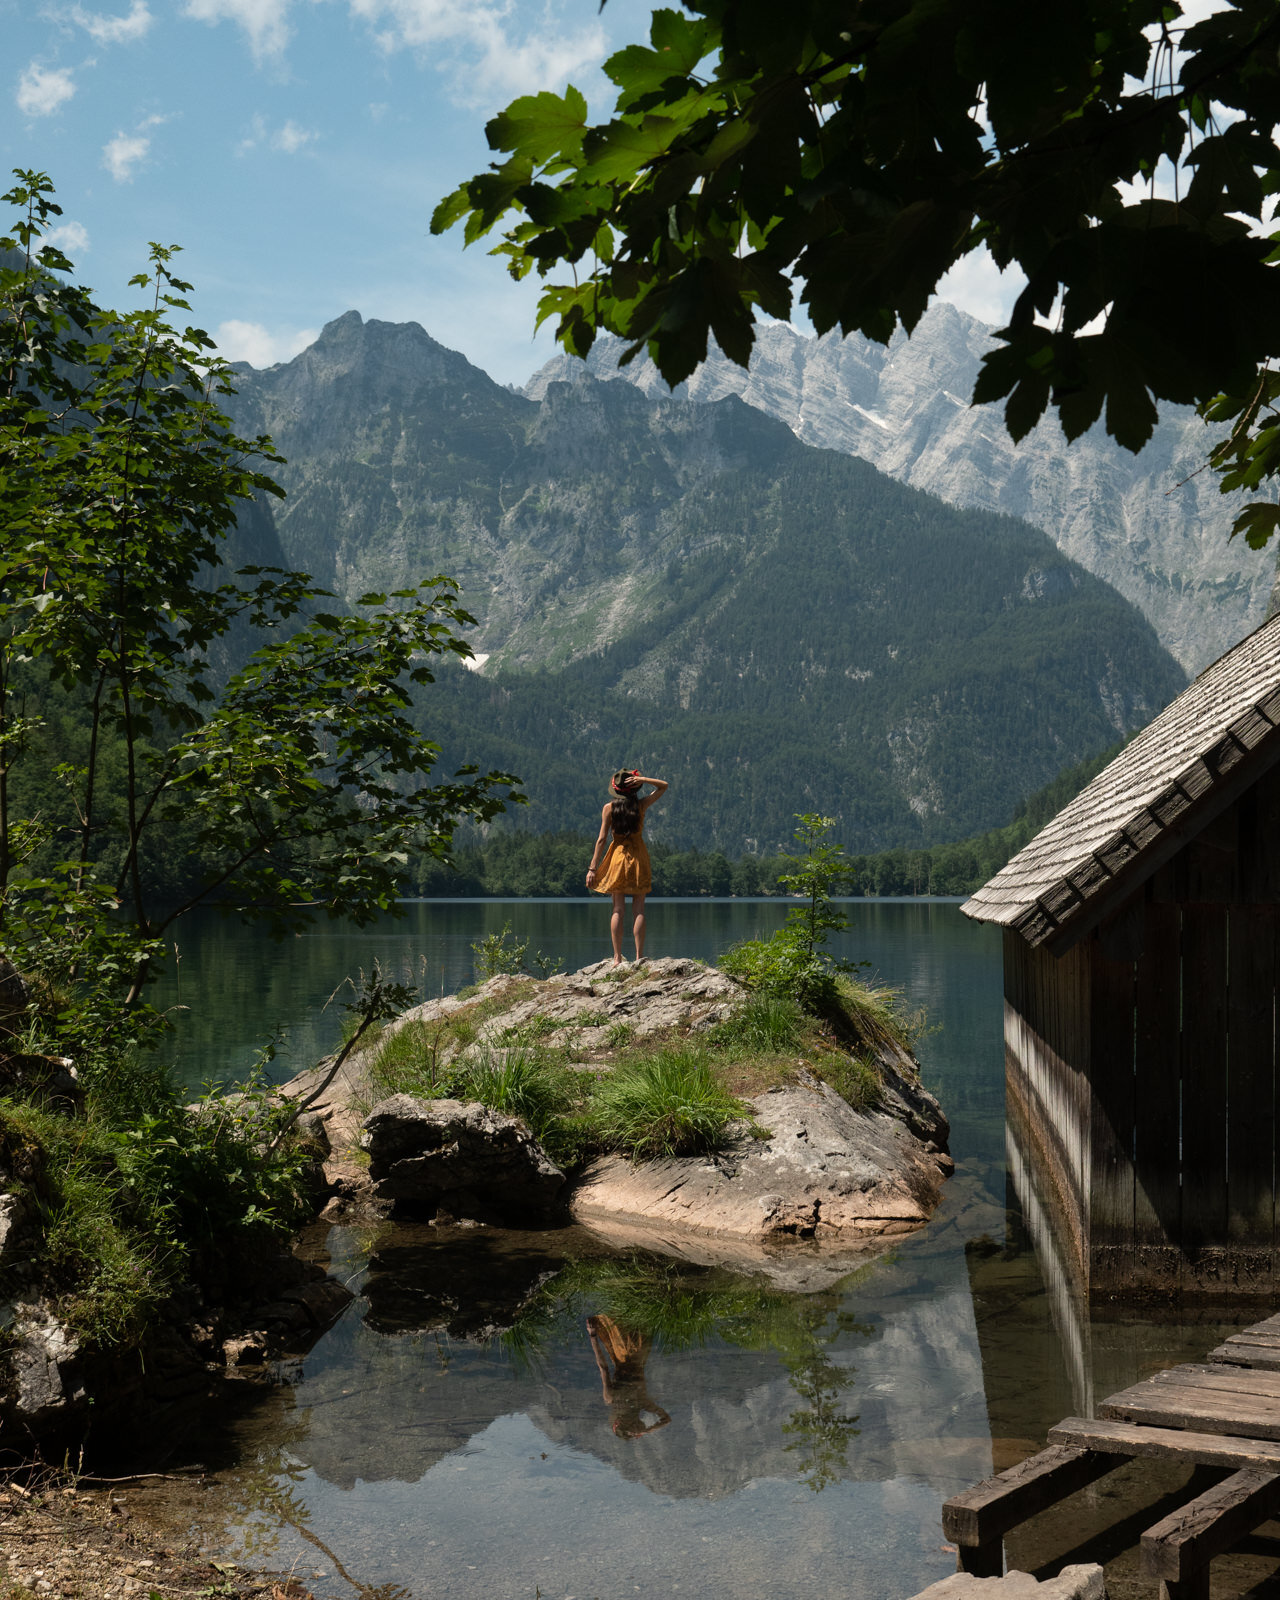
See the FREE presets in action!
Before & After
Presets included:

Afternoon in Oia
We created this preset for our photos from Santorini and it served as the perfect base for editing most of the shots from this paradise island. But it works fantastic not only on photos from Greece. It’s characterized by a cooler shade in highlights and an addition of red in the shadows. Saturated blue-green colour and faded greens are its hallmarks. It will work best in photos:
with predominant white and blue colours
from the beach, cities, paradise islands, from the lake and the sea
of jungle and waterfalls if we want to get the effect of washed up/metallic greens

Algarve Cliffs
Incredibly empasizes the greens - it becomes saturated and rich, and blues - deeps and intense. It was created on the occasion of our photos on the Algarve cliffs, from the need to emphasize the colour of the ocean meeting the hot yellow of Portuguese beaches. We recommend it especially:
wherever the ocean or sea is turquoise and meets with sand
in the pictures from the mountains (be careful of the blue colour or adjust it)
to experiment on sunset and sunrise photos

Beautiful Valley
Glow, warm tones and a little less expressive blue colour are its main features. The photos on which it will be applied will get slightly earthy colours and the greens move a little a bit towards yellow shades.. It was created to emphasize the beauty of the Swiss valleys. It will work great:
in photos from the mountains
during the “golden hour”
wherever rustic and earthy tones dominate, gray-green and dark brown colours
FAQ - Frequently Asked Questions
What do I need to use presets?
You need Adobe Lightroom Classic CC - photo editing software to use our presets on your desktop computer or laptop. This is a paid subscription-based software that costs 12.29 euros per month. You need FREE Lightroom CC app to use our presets on your mobile phone.
How to install presets?
The downloaded file is in .zip format. Double-click on it to unzip it and choose a folder where you want to extract the content. To unzip the package on your mobile phone, you need e.g. Zip Extractor app. Once unzipped, you will find two folders with presets and an e-book in which the further installation process is described.
How long will I be able to access the presets?
Once downloaded on your computer or mobile phone, the presets will be yours forever! Save them to an external hard drive or pen drive so you don’t lose them in the future.
Will the presets work well with my photos?
We can’t promise that in just one click, a preset will work perfectly with your photo. The truth is that this only happens in certain cases - when your photo was taken at a similar time, it has similar tones and colours as the photo on which a preset was originally created. There are many factors that affect how your photo will behave: camera, lens, settings, time of day, and even where in the world your photo was taken (not everywhere the water has exactly the same hues). If you learn how to adjust a preset, you’ll be able to achieve better results. We highly recommend taking photos in RAW format.
What’s the difference between RAW and JPEG?
The RAW format (also known as a “digital negative”) is an uncompressed (lossless compressed) format that contains raw image data from a digital camera’s sensor. It allows for the most flexible processing, but RAW files require more storage. JPEG is a compressed and lossy format that is pre-processed by our camera. It doesn’t contain all the details and data about the image, but thanks to that it takes less space than a RAW file. In terms of editing you can’t do as much with JPEG as you can with a RAW file.
What gear do you use?
Currently we use Panasoniciem GH5 with Tamron 24-70mm f/2.8 G2 or Olympus M. Zuiko 12-40mm f/2.8 PRO. We also take photos with our iPhone X. Taking photos on mobile phone we use Lightroom CC app and a .dng format (it’s also a RAW format).